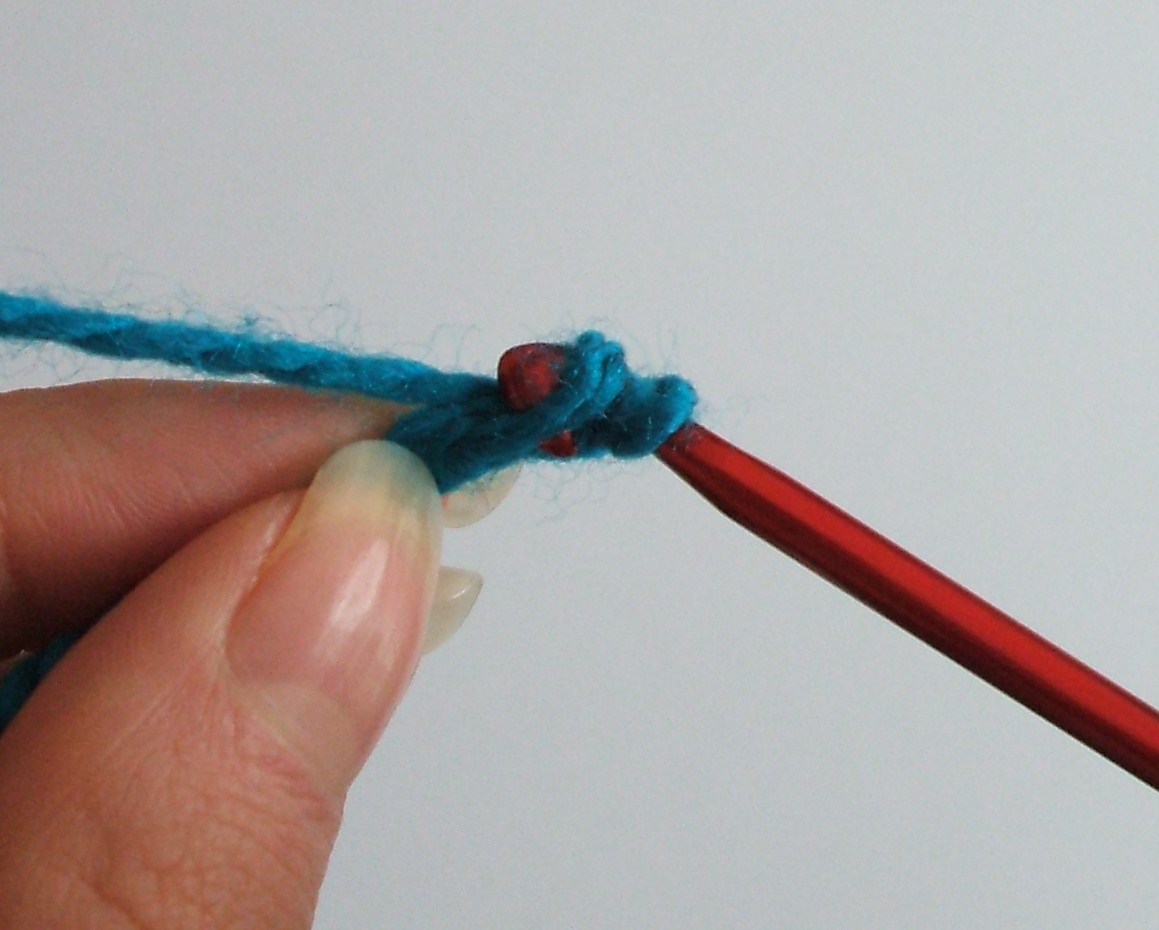
Wednesday 30 January 2013

Magic Ring

Most amigurumi's start with a magic ring. This enables you to crochet in the round. Crocheting in the round is how the different parts of an amigurumi are made. By using the magic ring technique there is no hole visible where you started crocheting.

Make a loop

Place the ball end of the yarn under the loop you have just made

Insert the hook under the yarn you have just placed under your loop

Pull the hook and yarn to one side

Yarn around hook

Pull the hook and the yarn through the loop

Place the hook through the loop in your hand from the front

Wrap the yarn around the hook

Pull under the loop in your hand

Wrap the yarn around the hook and pull the yarn through both the loops on your hook. This makes a single crochet (UK double crochet).


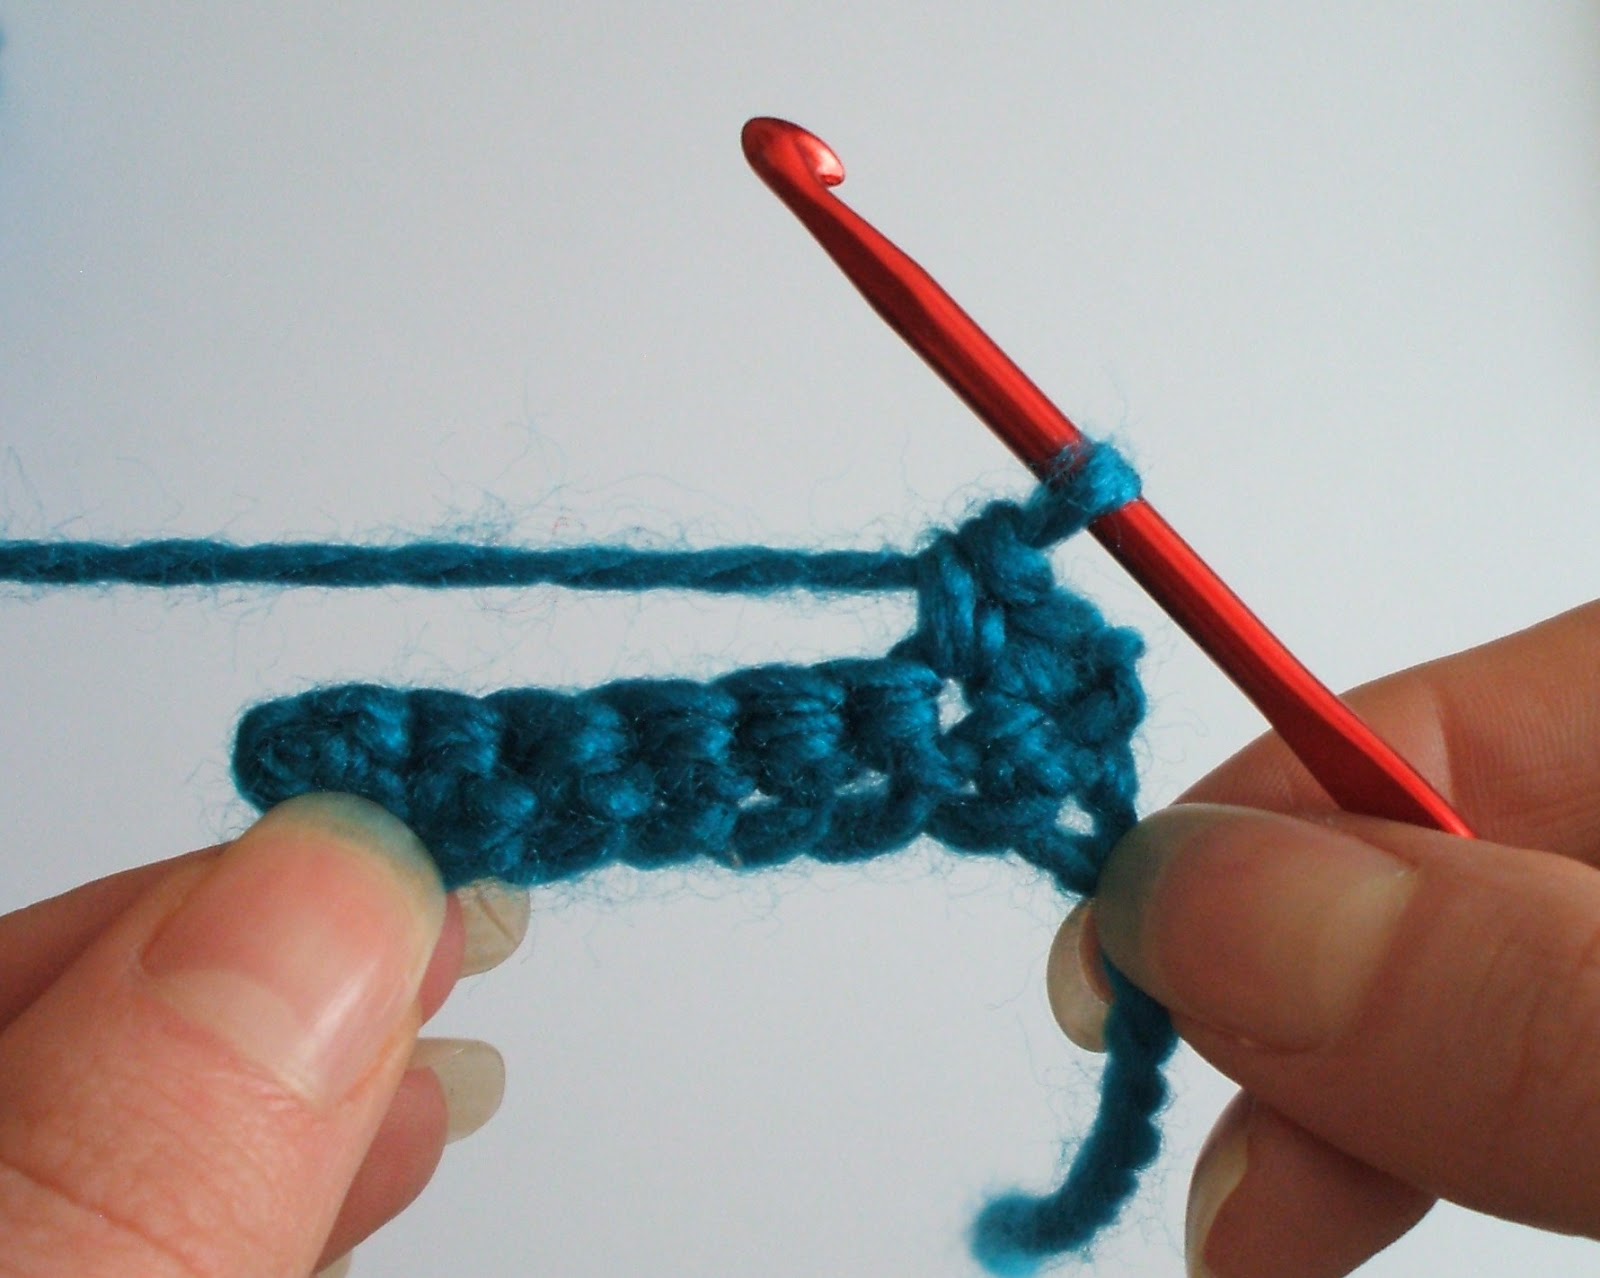
Carry on making single crochets in the same way. Usually 6 single crochets are made for amigurumi's.

When you have made the correct amount of stitches pull the tail end of the yarn tight until there is no hole visible in the middle.

To make your first round insert your hook into the next stitch

Make a single crochet

Place a stitch marker on the double crochet you have just made. This marks that this is the first stitch of the round. 

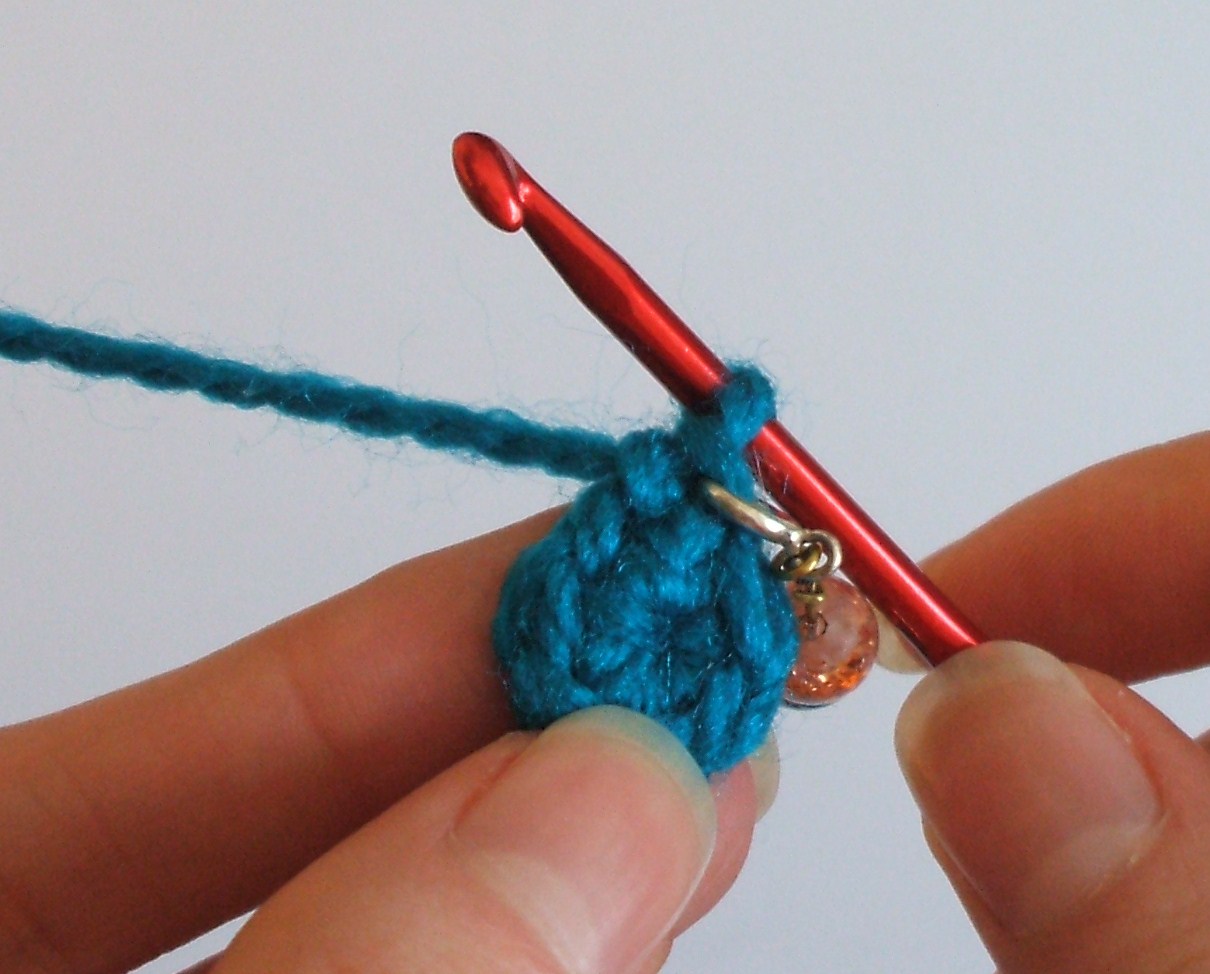
Carry on making single crochets till you get to the stitch with the stitch marker on. This is 1 round.
Remove the stitch marker and make the first stitch of the next round. Replace the stitch marker on the stitch you have just made. Carry on in this way making the number of rounds you need.

Saturday 26 January 2013

Fastening Off

When you have finished crocheting you will need to fasten off. This secures your work and stops it from unravelling.

At the end of your last row cut the yarn to about 15cm (6"). 


Wrap the yarn around the hook.

Pull the hook and the yarn right the way through the loop on your hook.

Pull the tail which will tighten the loop.

Weave in the tail end of the yarn using a darning needle.


Trim the end of yarn

You have now fastened off and secured your work.

Wednesday 23 January 2013

Counting stitches

Counting stitches can be a bit confusing at first as it can be difficult to distinguish each stitch until you get used to it.  
When counting chains one loop = one chain


When a stitch is made it creates a 'v' shape. To count your stitches count these 'v's. 
One 'v' = one stitch


Tuesday 22 January 2013

Betty the Bunny

It has been snowing lots here over the past few days. Betty the Bunny was so excited when she saw the snow that she had to go out and play.


Here she is walking in the snow. It was so deep it came to the top of her legs!

Making a snow angel!

Betty made a snow Rabbit complete with twigs for ears.

Betty really enjoyed her day out and got covered in snow. You can purchase the pattern PDF to make your own Betty the Bunny from my Etsy shop http://www.etsy.com/shop/SewMyCupofTea

Saturday 19 January 2013

Single Crochet

Before you make a single crochet you need a foundation row. This will be what you make your stitches into. A foundation row is made up of chains. Make a length of chains and add one more chain than the number you need.


In the second chain from the hook insert the crochet hook.

Wrap the yarn around the hook.

Pull the hook and the yarn through the loop.

There are now 2 loops on the hook.

Wrap the yarn around the hook.

Pull the yarn and the hook through both the loops on the hook.

You have now made your first single crochet.
Carry on making single crochets until you reach the end of the chain.

To start a new row you first need to make a turning chain as you will need the height to make the new stitch. If you don't make a turning chain the edge of your work will not be straight. To make a turning chain for a single crochet, make one chain (ch1).

Turn your stitching as you always crochet right to left. You are now ready to start a new row. When you start the stitch make sure you insert the hook through both the loops of the stitch on the previous row.


Carry on making the single crochet as before.


Wednesday 16 January 2013

Making a Chain

Start with a slip knot.

Hold the yarn in your left hand and the hook in your right. Hold the tail end of the yarn between your ring finger and thumb on your left hand close top the crochet hook to create the tension needed to crochet. Wrap the ball end of the yarn over the hook.

Pull the yarn and the hook through the loop on your hook.

Repeat until you have made the number of chains you need.

Making a Slip Knot

Before you start to crochet you need to make a slip knot.

To make a slip knot you first need to make a loop using the tail end of yarn.


Place the yarn end attached to the ball of yarn under the loop you have just made.

Using your hook pull the strand of yarn you have just placed under the loop through the loop


Keep pulling until the slip knot pulls tight. If the loop is too large pull on the ball end of the yarn to tighten it to the size of the hook.


You have now made your first slip knot.